Adobe Photoshop is one of the best photo editing software equipped with several tools to enhance image quality. I’ve been using Photoshop since starting my photography career and have worked with several tools over the years. For travel photography, there are a few tools that I like in particular to edit my photos. While I don’t use these tools exclusively, I do find that they are my most relied upon. Today, I’ll discuss four of my favorite Photoshop tools that are the most useful for my images.
1. Selective Color
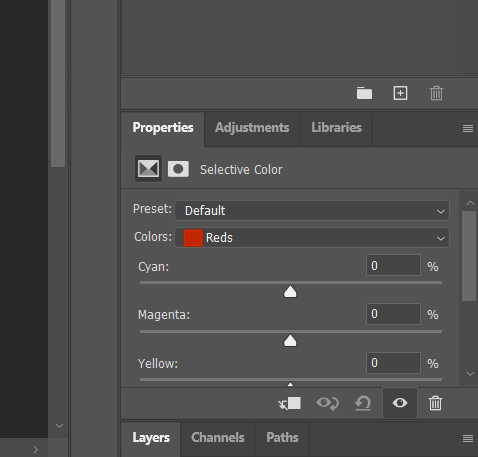
The Selective Color tool is one of my favorite tools in Adobe Photoshop. It allows you to manipulate an image’s color range to suit your needs. Due to its flexibility, you can adjust the color in an entire image or isolate it to one or two colors. Whether you need to create more vibrancy in your images or even desaturate some areas, the selective color tool is your go-to.
2. Sharpness
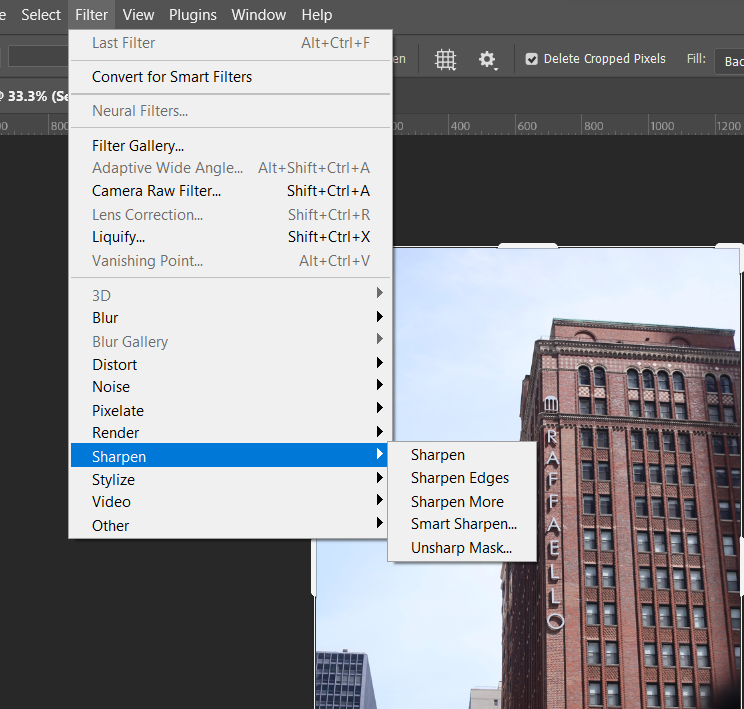
The sharpness tool is a favorite for many photographers in Photoshop. This is because it influences how crisp your image is. If enhancing the small details of your image and contrast is important to use, increasing sharpness is one of the best tools to use.
One thing to keep in mind is that increasing sharpness too much can ruin the quality of your photo. It’s better to subtly increase sharpness to your liking. This will help you avoid making your image look worse.
3. Color Balance
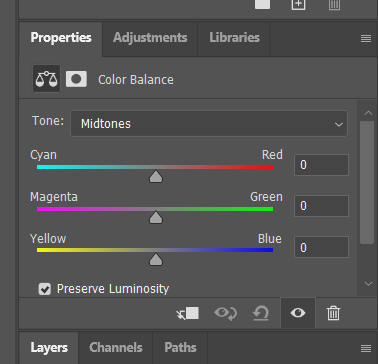
Another useful tool in Adobe Photoshop is color balance. With color balance, you can adjust the overall color of your image. More specifically, color balance enables you to adjust the intensity of the cyan, magenta, and yellow tones of your photo. This tool is all about creating harmony and balance within images.
Some photographers use the color balance tool for more accurate color representation. At the same time, it’s used to exaggerate colors for a more dramatic effect or to just enhance the overall quality of the image.
4. Curves
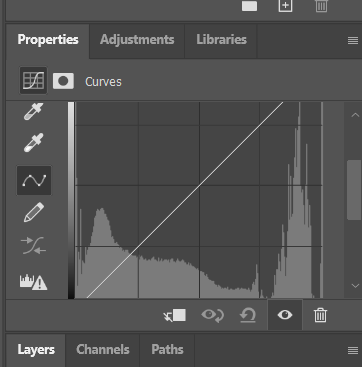
The cure tool is all about making tonal adjustments in photography. While many photographers like the levels tool, I have found the curves tool to be more impactful for my photography. The curve adjustment looks exactly like a graph and provides a simple way to manipulate an image almost seamlessly.
In particular, the curve adjustment can increase the brightness of an image or make it darker. Additionally, you can give an image more contrast or create a matte effect by reducing contrast.
Another powerful aspect of curves is that you can also change the colors in your image when you change the RGB setting to one of the color values: red, green, or blue. The curve adjustment is one of my favorite and most-used tools in Photoshop just because of the flexibility. But just like with many of the tools available, you don’t want to get carried away as this can easily mess up your image.

Tips When Using Photoshop
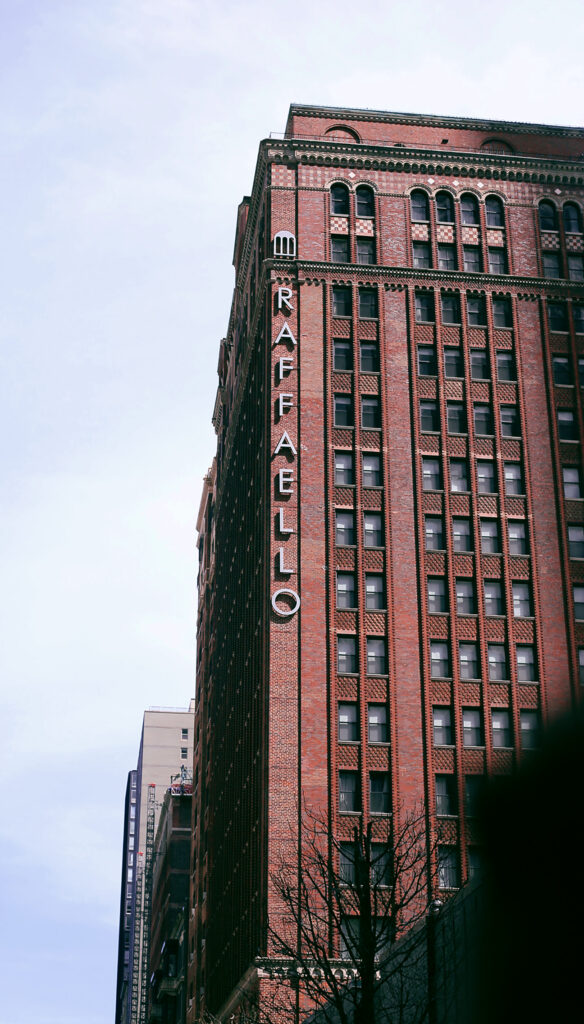
Here’s a photo of the Raffaello hotel in Chicago that I captured. The left image is the original while the one on the right is after my regular editing process. I used selective color to bring out the individual colors. I was mainly focused on creating more vibrancy in the building. I also sharpened the image slightly for more clarity. Color balance was used to create more harmony within the photo and give it a good balance between the various colors. The curve tool was used sparingly to slightly improve highlights.
When working in Photoshop, always make gradual changes to your image to see how you like it first. It’s also important to create a new adjustment layer every time you make a change to your image. That way, you can remove the layer if you don’t like the results vs. losing all of your progress. Lastly, don’t get overwhelmed by all of the tools in Photoshop. While it’s great to take advantage of everything, it’s never a bad idea to focus on the tools that will empower your photography.
Don’t forget to check out my portfolio here.